A Marketer's Guide to Hidden Fields in Form Submissions
Imagine your lead forms could tell you exactly which marketing efforts are paying off, all without asking your visitors a single extra question. That’s the magic of using hidden fields. They’re a total game-changer for marketers who need to prove ROI but don't want to get bogged down in technical details.
Why Hidden Fields Are Your Marketing Superpower

We’ve all been there. A new lead pops into the CRM, and it’s a complete mystery. You see a "Demo Request" from a "Jane Doe," but you have no idea where she came from. Was it that Google Ads campaign you just poured money into? The new guest post? Or just a lucky break from organic search?
Without that context, you're just guessing where to invest your time and budget. This is exactly the problem hidden fields solve. Instead of piling more questions onto your forms—which we all know can kill conversion rates—these fields work silently in the background. They grab crucial attribution data and package it right up with the rest of the form submission.
The Silent Data Collector
Think of hidden fields as your form’s secret agent. They don’t add any clutter to the user experience or ask your prospects to do more work. Their only job is to capture information that's already there, like the tracking parameters tucked into a URL.
This simple trick turns your basic contact form into a seriously smart data-gathering tool. You can finally connect the dots between your marketing campaigns and actual sales opportunities.
To understand just how different these are from what your users see, here's a quick comparison.
Visible Fields vs Hidden Fields A Quick Comparison
| Aspect | Visible Fields | Hidden Fields |
|---|---|---|
| Purpose | To collect information directly from the user (e.g., Name, Email). | To automatically capture data without user input (e.g., UTMs, Referrer). |
| User Interaction | Requires the user to manually type in information. | Completely invisible; no interaction is needed. |
| Impact on UX | Each additional field can increase friction and lower conversion rates. | Zero impact on user experience or form length. |
| Data Type | User-provided personal or contact information. | Technical, marketing, and session data. |
| Example | "What is your job title?" | Capturing utm_source=google_ads. |
This table makes it clear: hidden fields do the heavy lifting behind the scenes, keeping your forms clean and your data rich. They give you the best of both worlds.
Bridging the Attribution Gap
Let’s say you’re a marketer running a Webflow site that pipes leads into HubSpot. You might be happy with a solid 21.5% average conversion rate on your forms, but hidden fields can give you a much deeper understanding of that number. They silently grab attribution data like UTM parameters, and your visitors are none the wiser.
This is a huge deal, especially when you consider that adding a single visible field, like a phone number, can tank conversions by up to 5%. Hidden fields protect that user experience while making your data infinitely more valuable.
This captured info helps you map out the entire customer journey. You can learn more about the meaning of lead source in our detailed guide, which breaks down how this data leads to smarter marketing. When you know exactly where each lead came from, you can finally stop guessing about campaign performance and start making data-backed decisions.
Ultimately, capturing this data is a key part of the bigger picture. To truly grow, you need to combine smart data collection with effective strategies to get more leads from your website.
Capturing The Data That Actually Matters
Using a hidden field in form submissions is about way more than just grabbing random data points. It’s about capturing the specific, high-value information that tells you the real story behind each lead. While UTMs are a great start, they honestly only scratch the surface of what’s possible. If you really want to understand your marketing performance, you have to look at the complete customer journey.
Think about it. A potential customer clicks your Google Ad, lands on a specific blog post, browses a couple of other pages, and then finally fills out your contact form. A basic setup might just tell you they came from paid search. A smarter setup, however, captures the entire context of that journey.
Beyond Basic UTMs
To get the full picture, you need to collect a few key pieces of information that work together. These are the details that turn guesswork into genuine insight.
- Initial Channel: Where did they really come from? A Google Ad, organic search, a specific social media post, or a referral from another site?
- First Landing Page: What was the very first page they saw? Knowing the exact entry point reveals which content is actually drawing people in.
- Referring Website: If they came from another site, which one was it? This is pure gold for figuring out partnerships and PR efforts that are paying off.
For a B2B marketer, seeing a demo request come from a targeted LinkedIn campaign is the kind of data that justifies your budget. For an agency, seeing leads flow in from a guest post tells you exactly where to double down. This is how you prove ROI without having to loop in a developer.
Key Takeaway: The goal isn't just knowing that a lead converted. It's understanding the full path they took to get there. Hidden fields are your best tool for mapping that journey automatically.
Fighting The Conversion Rate Battle
I get it—most marketers are terrified of adding more fields to their forms, and for good reason. It’s a tough world out there when the average form conversion rate is a measly 1.7% across industries. What's worse is that every single extra field you make visible can tank your conversions by an average of 11%.
This is precisely where hidden fields become your secret weapon. You can inject all that crucial attribution data—like ad platforms and keywords—without bloating the form and scaring potential customers away. If you're into surprising stats, you can find more in this deep dive into form performance.
When it comes to getting the most data from your prospects, especially when you're optimizing your contact forms, hidden fields are invaluable. They let you keep a clean, user-friendly form on the front end while you collect the rich data you need on the back end.
This combination is incredibly powerful. You get a simple user experience that doesn't hurt conversions, but you also gather intelligence on every single submission. Your simple contact form is suddenly a sophisticated marketing tool. And when that data flows into your CRM, every lead record arrives pre-loaded with the context you need to finally understand what's working, so you can invest your time and money with confidence.
Getting Hidden Fields into Your Favorite Form Builders
Alright, let's get our hands dirty. This is where we actually add the hidden fields to the form builders you’re probably using every day. The best part? You won't need to touch a single line of code or wrestle with Google Tag Manager. It’s all about knowing where to click.
Whether you're in Webflow, a WordPress plugin like Gravity Forms, or a conversational tool like Typeform, the basic idea is always the same. You add a new field to your form, switch its type to "hidden," and give it a name that matches the data you want to grab—think UTM_Source or Initial_Landing_Page.
This simple diagram breaks down how the data flows from the initial channel, through your landing page, and straight into your CRM.
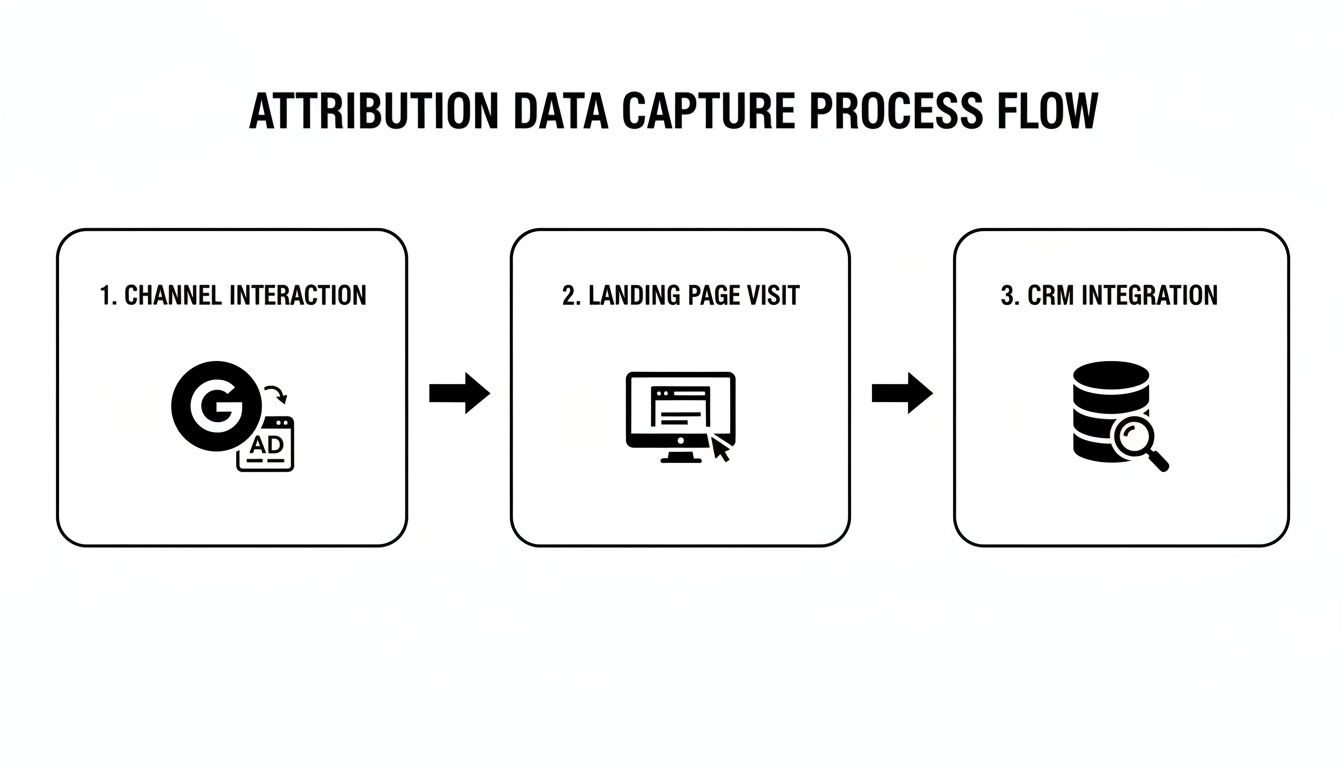
With this setup, every single form submission comes packed with valuable attribution data. You’ll finally have a clear line connecting your marketing efforts to the leads they generate.
Setting Up Hidden Fields in Webflow
Webflow makes this process ridiculously easy. Just open up the Webflow Designer, pop open the Add panel, and drag a standard "Text Field" element right into your form block.
Once you’ve dropped it in, click on the field to bring up the Settings panel on the right. Now for the most important part: the "Name" input. This is where you'll define what data to capture, like utm_campaign. After that, just change the field’s type to "Hidden" from the dropdown menu, and you're good to go.
Pro Tip: I can't stress this enough—keep your field names consistent across every single form. If you use
UTM_Sourceon one form andutm_sourceon another, you’re creating a data mapping nightmare for yourself down the road. Consistency is your best friend here.
Implementing Hidden Fields in Gravity Forms
For all the WordPress folks out there, Gravity Forms is a fantastic choice that has great support for hidden fields. When you're editing a form, look under the "Standard Fields" section for the "Hidden" field type.
Just drag it onto your form. Once it's there, click on it to open up its settings. You can give it a "Field Label" to remind yourself what it is (e.g., "UTM Source"). Then, jump over to the "Advanced" tab and use the "Parameter Name" option to automatically pull its value from the URL. For instance, if you set the parameter name to utm_source, it will grab that value right from the visitor's URL. Our guide on how to track leads with any form builder has more universal tips that fit perfectly here, too.
Adding Hidden Data to Typeform
Typeform does things a little differently, but it's just as powerful. You’ll find its "Hidden Fields" feature in the Logic panel. This is where you’ll define the names of the fields you want to track, like source or campaign.
After you've defined them, Typeform automatically adds these as parameters to your form’s URL. You can then pass data to them by building custom links. For example, you could send an email with a link like your.typeform.com/to/xyz?source=newsletter. When someone clicks that link and fills out the form, "newsletter" gets captured right alongside their answers.
This is an incredibly effective way to segment new leads. Imagine you’re a B2B founder using Typeform for webinar signups. Since data shows multi-step forms can convert up to 86% higher than single-page ones, hidden fields are the perfect way to carry attribution data across all those steps without the user ever knowing. This little trick turns every submission from a mystery into a clear, actionable data point.
Connecting Hidden Fields to Your CRM
 Capturing attribution data is a great start, but it’s only half the story. The real magic happens when that rich information lands in your CRM, sitting right there next to your new lead’s contact details. This is how you finally connect the dots between your marketing efforts and actual revenue.
Getting that data from your form into your CRM is a process called field mapping. It’s really just you telling your tools, "Hey, take the data from this form field and put it into that specific field in my CRM." It might sound a bit technical, but I promise, modern tools have made this a surprisingly simple, no-code task.
Preparing Your CRM for New Data
Before you can send any data over, you have to make sure there's a place for it to live. Your CRM won't automatically know what to do with a field named utm_campaign. You need to create a specific home for it first.
Log into your CRM—whether it's HubSpot, Salesforce, or Pipedrive—and find your property settings. This is where you’ll create a custom property for each piece of attribution data you want to track.
For example, you'll need to create a new property for each hidden field:
- For
utm_source: Create a new property called "UTM Source." - For
utm_campaign: Create another one named "UTM Campaign." - For
initial_landing_page: And one more called "Initial Landing Page."
Getting the naming right is critical. A tiny typo or mismatch between what you call the field in your form and in your CRM can cause the whole thing to fail. You’ll be left with frustratingly empty fields and no idea why.
Key Takeaway: Always, always create your custom properties in the CRM before you try to connect your form. It’s a simple prep step that saves you from massive headaches later.
Making the Connection Work
With your CRM properties ready to go, it’s time to actually connect your form. How you do this will depend on your specific tech stack, but the goal is always the same: mapping the hidden fields in form submissions to the custom properties you just created.
Let’s look at a common scenario. Say you have a Webflow form with a hidden field named UTM_Campaign, and you want this to populate the "UTM Campaign" property on a new HubSpot contact. Most modern form builders have native integrations that make this easy. You'd just go into your form settings, find the integrations tab, and connect your HubSpot account. If you’re a HubSpot user, you can find out more about how to make this specific Webflow to HubSpot connection work flawlessly.
If a direct integration isn't available, a tool like Zapier can be your best friend. It acts as a bridge between your form and your CRM. You would set up a "Zap" that triggers every time there's a new form submission, then add an action to create or update a contact in your CRM. The key is to carefully map each hidden field to its corresponding CRM property within Zapier. This approach is incredibly flexible and works with just about any combination of tools you can imagine.
Testing and Troubleshooting Your Setup
Alright, you've done the hard work of setting up your hidden fields and mapping them to your CRM. Now for the moment of truth: making sure it all actually works.
Don't just cross your fingers and hope for the best. Taking five minutes to run a quick end-to-end test right now can save you a massive headache later when you realize your attribution data has been AWOL for weeks.
The best way to do this is to put yourself in your customer's shoes. Find a real campaign URL you're running—maybe a Google Ads link loaded with all your UTM parameters.
Next, open a new incognito or private browser window. This is a crucial step; it ensures you get a clean slate without any old cookies or logged-in sessions messing with the test. Paste that full campaign URL into the address bar and hit enter.
Running a Full-System Test
Now, just act like a real visitor. Click through a few pages, browse around a bit, and then find the form you just updated. Go ahead and fill it out with some obvious test info (I usually use something like "Jane Doe Test" and "[email protected]").
Submit the form.
Okay, now pop over to your CRM and look for that brand-new contact record. This is where you see if your work paid off. Are the custom fields you created filled in correctly? Can you see the right values for "UTM Source," "UTM Campaign," or the landing page URL?
If all the data is there, congratulations! You've successfully captured attribution data with hidden fields in your form.
What to Do When Data Is Missing
But what if those fields are empty? Don't panic. This happens all the time, and the fix is usually surprisingly simple. Most problems come down to one of a few common culprits that you can easily check yourself.
Nine times out of ten, the issue is a simple typo. A tiny mismatch between field names is the most common reason for failure. Here's a quick checklist to run through:
- Your Form Field Name: Jump back into your form builder, whether it's Webflow, Gravity Forms, or another tool. Look at the exact name you gave the hidden field. Remember,
utm_sourceis different fromUTM_Source—casing matters. - Your CRM Property Name: Now, check the corresponding property in your CRM. The name or internal ID needs to match exactly what your form is sending over.
- Your Mapping Tool: If you're using a middleman like Zapier, open up your Zap. Double-check that the fields from the form trigger are correctly mapped to the right properties in your CRM action.
My Personal Tip: I make it a habit to copy and paste field names directly from my form builder into my CRM settings and any mapping tools. It feels a bit meticulous, but it completely eliminates the chance of a sneaky typo derailing everything. This simple trick has saved me from countless hours of frustrating troubleshooting.
Questions That Always Come Up About Hidden Fields
Even with the best instructions, you're bound to have a few questions once you start digging in. Using hidden fields is pretty simple on the surface, but a few common "what-ifs" tend to trip people up. Let's tackle the ones I hear most often.
Will Adding Hidden Fields Slow Down My Website?
Great question, and thankfully, the answer is a simple no. Hidden fields are just tiny bits of HTML text. They aren’t loading big images or running complex scripts, so their impact on your page load time is virtually non-existent.
If your site is feeling sluggish, the culprit is almost always something else—think giant uncompressed images, a slow web host, or clunky plugins. Go ahead and add those hidden fields; your site’s speed won’t notice a thing.
What Happens if Someone Clicks to Another Page Before Filling Out the Form?
This is a big one. It's also where most out-of-the-box setups fall apart. Let’s say someone clicks your ad and lands on a beautiful blog post. They read for a bit, then click over to your "Request a Demo" page. Uh-oh. The second they clicked that link, all those juicy UTM parameters in the URL vanished.
By default, that tracking data is lost. The form on the second page has no idea where that person originally came from.
Some people solve this with custom scripts or cookies, but that can turn into a technical rabbit hole fast.
The easiest way around this is to use a tool that's built to solve this exact problem. It essentially grabs and "remembers" the initial attribution data for the entire visit, so it doesn't matter if they browse 5 pages or 10 before they finally convert. The original source data will still be there to populate your form.
This is often called the "last touch" attribution gap, and it’s a massive blind spot for marketers. Luckily, it’s a problem you can fix without bugging a developer.
Are There Any Privacy Issues I Should Worry About?
It’s smart to ask this, especially today. The good news is that when you're using hidden fields for marketing attribution, you're typically not collecting personal data.
You’re capturing anonymous journey details like:
- Which ad creative they saw (
utm_campaign=spring_sale) - What site sent them to you (
referrer=google.com) - The marketing channel that worked (
channel=Paid_Search)
This information tells you how someone got to you, not who they are. This kind of anonymous analytics tracking is a standard marketing practice and generally doesn't fall under the same strict consent rules as collecting Personally Identifiable Information (PII) under regulations like GDPR or CCPA.
Still, it's always a good idea to be transparent. Mentioning that you collect anonymous analytics data in your website's privacy policy is a solid best practice.
Ready to finally see where every single one of your leads is coming from? LeadPulse automatically captures attribution data and passes it into the hidden fields on your forms, giving you perfect clarity in your CRM. See how LeadPulse works.
How to Optimize Landing Pages for Higher Conversions
Discover how to optimize landing pages with our clear, actionable guide. Learn copy, design, and attribution tips to turn more visitors into quality leads.
Form Design Best Practices: Boost Conversions with Smarter Forms
Discover form design best practices to reduce drop-off, capture clean data, and boost conversions with intuitive, user-friendly forms.